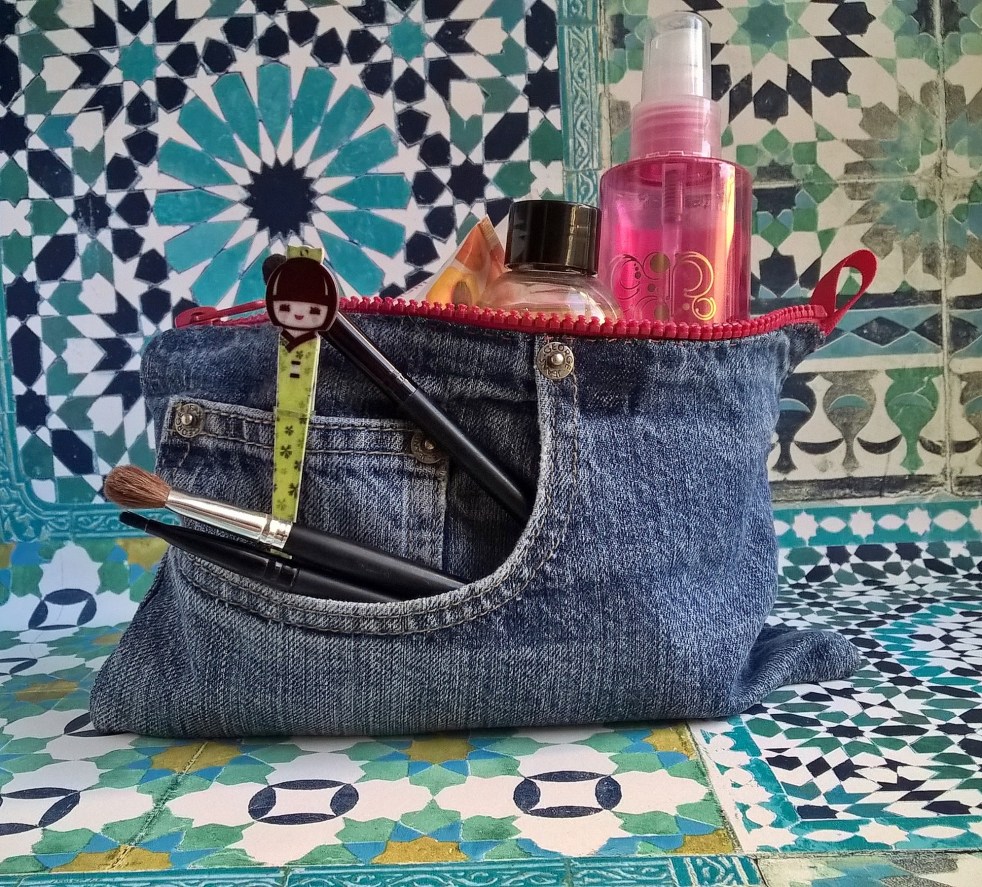
This week I have made myself a new make up bag that I will be taking on a little trip with me in September. Suitably for a re-made item I will be visiting The Festival of Thrift in Yorkshire.
I love the little change pockets in jeans and I wanted to use the pocket in situ, rather then removing it and putting it something else. So, I unpicked the waistband of the jeans in order to use the whole section easily.

MATERIALS REQUIRED
An old pair of Jeans
Lining Material to fit
Zip of suitable length
Extra Strong Thread, a Hand Needle
Pins, Scissors, an Unpicker
A Ruler and Fabric Pen
A Chopstick or suitable poker for the corners!
First, I unpicked the waistband off the top of the jeans – keep this it could make a great bag handle, a fabric bracelet etc. Open up the outside leg seam of the jeans, you could open up the inside as well but it depends on what you else you think you will be making as you might want the fabric width.
When cutting out, cut the front pocket side of the jeans as close as possible to the fly opening and measure up and cut yourself a rectangle, think about the width of the bag ( add on seam allowances, I used 1cm and 1.5cm on the zip) and the size of zip you want to use but you can shorten a longer zip if required. I used an 8″ Zip.
Cut a matching size rectangle for the back and 2 more the same out of your lining fabric. It doesn’t matter if you cut through the pocket bag when making your rectangle on the front piece as you will trap the open edge in the seam later on.
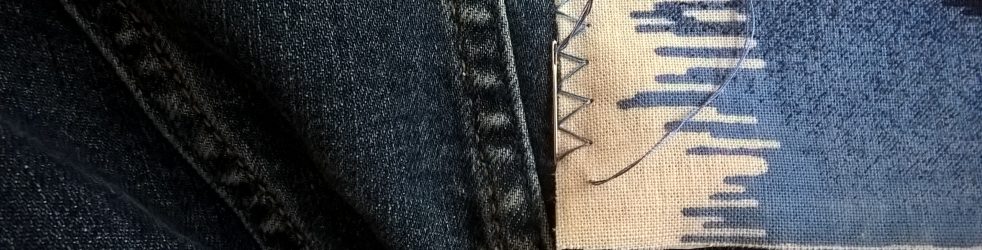
Position the zip between the Denim and lining pieces. Pin one side of the zip in between the topside of the front denim piece (with the pocket) and a piece of the lining with the right sides facing, the right sides should also be covering the zip. Repeat with the other two pieces. You can check that the pieces are correctly pinned before sewing as when you turn them over the zip will be in the middle as seen above.

To insert the zip, open out the fabric as seen on the left and stitch along the seam allowance. Make sure that you are not too close to the teeth or the lining will become trapped when you open and close the zip.
Start with the zip closed and as you get closer to the end open the zip so that you can keep the line straight. Repeat on the other side of the zip.
The Zip can be inserted with machine stitching but I hand stitched the whole thing as essentially I don’t thread up my sewing machine unless I have a good couple of metres of sewing to do or a large project – and I really enjoy hand stitching as I can do it outside in nice weather!

Next, open up the bag pieces as shown with the denim on one side and the lining on the other.
Start with the denim piece, lightly pin together ensuring that the bottom edge of the open pocket bag is pinned and will be stitched into the seam if you had cut through it as mentioned earlier. Sew all the way round the denim piece
Next, pin the lining pieces together.This time sew down from the edges and leave a gap in the middle to turn the bag through later on.
As I didn’t overlock my edges I lightly trimmed my seams on both pieces with a pair of pinking shears to stop fraying. Then, I pressed the seams open.

After that, turn the bag to the right side through the gap left in the lining. Use your chopstick to carefully poke the corners out.
Fold the raw edges of the lining to the wrong side, so they line up with the seam and stitch the opening shut. I used slip stitch for this.
I hand top stitched the lining and denim together with running stitch, which traps the seam allowance inside and helps the zip to run smoothly without catching.

I used a faded old cotton pillowcase to make my lining from, as the bag is quite small you might see this fabric again in another project!
The Zip I used was quite chunky so I inserted a tab at the point where I stitched the lining and outer sides together. I left a small gap at the end of the zip and poked the tab through so the loop was on the outside and the raw edges were trapped on the inside.

READY TO GO!


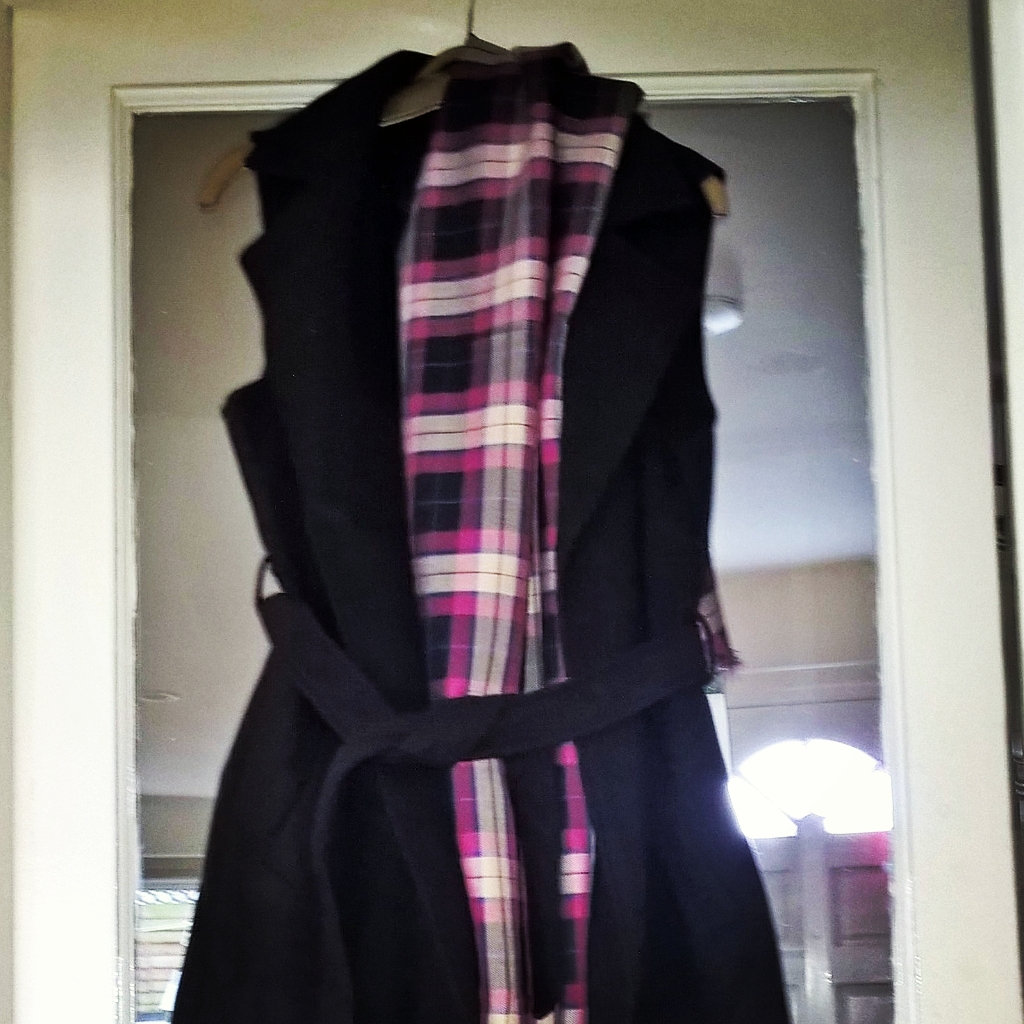
 As the seasons turn, I have to admit that my favourite seasons are Autumn and Winter. The colours, the scents, the change in food and I am a big fan of keeping alive family traditions.


 Lots of people run classes on machine sewing which is great but hand sewing is a fantastic skill to have.
 One of the first jobs I did after becoming self-employed was taking up some curtains for a friend. He had just moved into a cottage with low ceilings and quite a lot had to come off as the hems would’ve been too heavy left uncut.


 After I made this bag for myself I had the pieces of fabric left over from the centre of the handles, they weren’t very wide but I like to keep a lot of even fairly small scraps as they can come in handy.
 I came up with a little pattern to make my own version and I wanted the edge of the opening to be bound. Even though I can sew pretty well, I really hate applying Bias binding so I decided to extend the edge of the lining and fold it down I did this first so the edges would be stitched underneath.
 I have made just the one here but if you are going to make e.g a set of two or more then run your sewing like a factory line, cut all the pieces out, stitch all the bindings down, sew the back and front halves together, sew round each holder, turn each one through, then stitch up the gap on each one.
 How The Light Gets In Festival in May, it was rain free! I went to Glastonbury last year for 5 days and got away with one heavy shower of rain! Pretty Lucky huh?
 This is the look that we are going for, a denim cover with a blanket stitched edge and a layered applique front.