Keeping in with the upcycling theme of my blog, this month I am sharing a little refashion project I did on a sleeveless wrap jacket.
 I brought this unlined wrap jacket in the early Autumn, I only wore it twice. This is for a couple of reasons one is it has been a really wet winter and the second is it is quite a thin fabric and was getting pretty creased if I wore it sitting in the car.
I decided to line the jacket, to give it a bit of reinforcement which would help it to stop creasing if I sat down in it and I love a funky lining. A great lining is like nice underwear, no one can see it but it makes you feel good. I didn’t choose a typical lining as it would’ve been too thin, the check is a thin woven wool mix, I purposely chose this to add body to the piece.
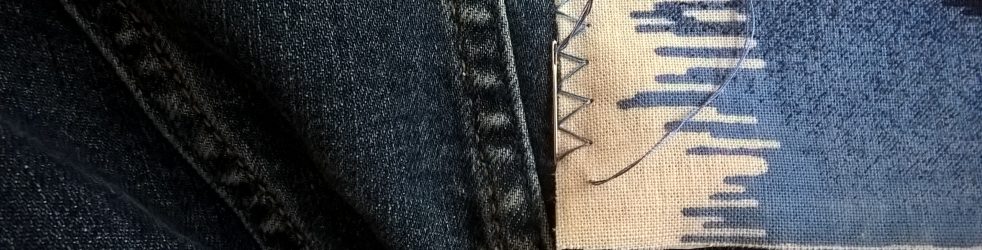
The inside of the jacket was fully faced ( in the picture where I am holding the jacket open you will see the black inside where the facing meets the checked lining). I started by measuring the back, then measured for the front side from the side seam to the facing edge and added seam allowance to the pieces.
 These are the finished pieces, when I pinned the pieces to the fabric I made sure that I was following the grain of the fabric. This was easy as the fabric is checked to I had to make sure that straight lines running up the paper were lined up with the straight lines on the check. I could pin the pieces opposite ways up as the check is regular, if you have a one way print, e.g you have flowers that only run up the fabric then you will need to make sure that all of your pieces face in the same direction – which also takes up more fabric.
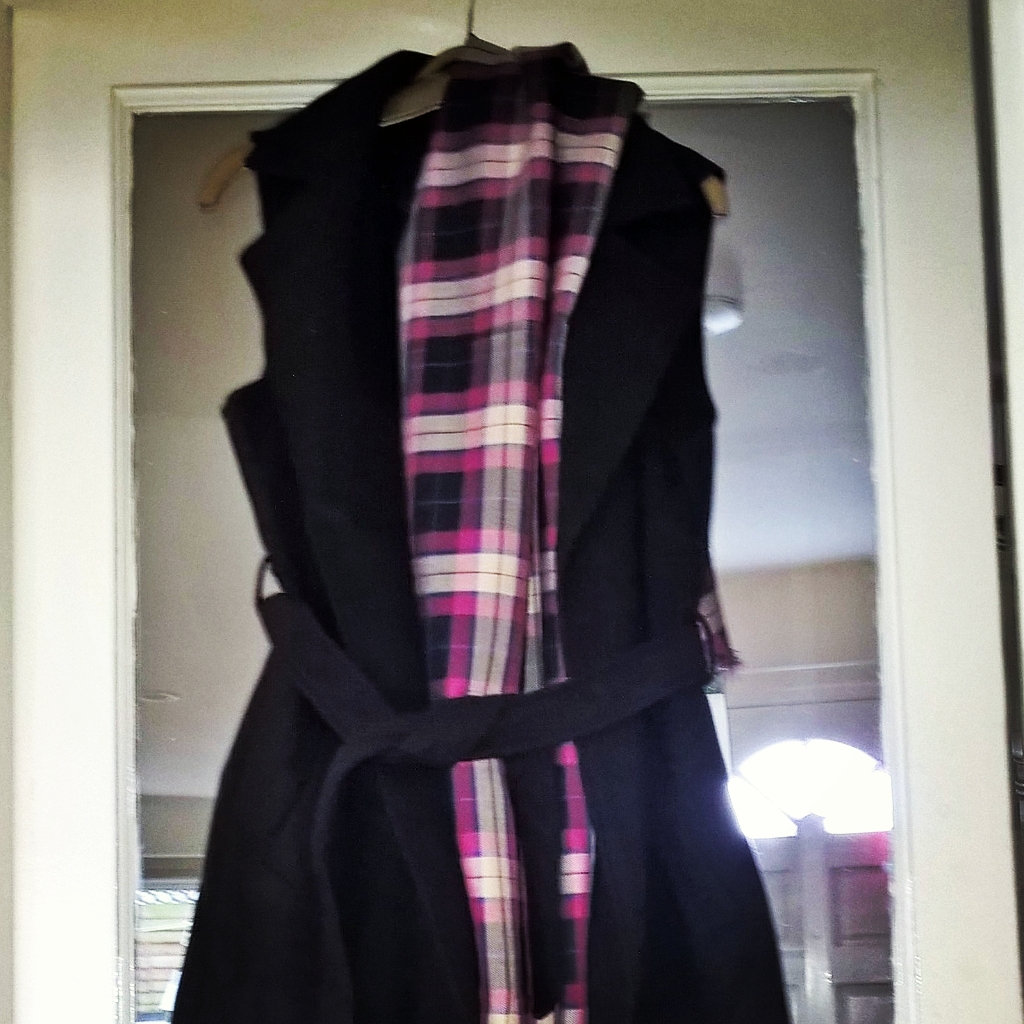
Here is the finished jacket. I was really pleased with the end result and after wearing in the car, when I got out it hardly creased at all. Excuse the dodgy modelling, it’s not really my thing! I had some left over fabric so I think I will make a scarf to go over the top, if people catch sight of the lining and the scarf when I go out somewhere, they might think I had a matching set custom-made for me!

Here’s to spring and dry weather!
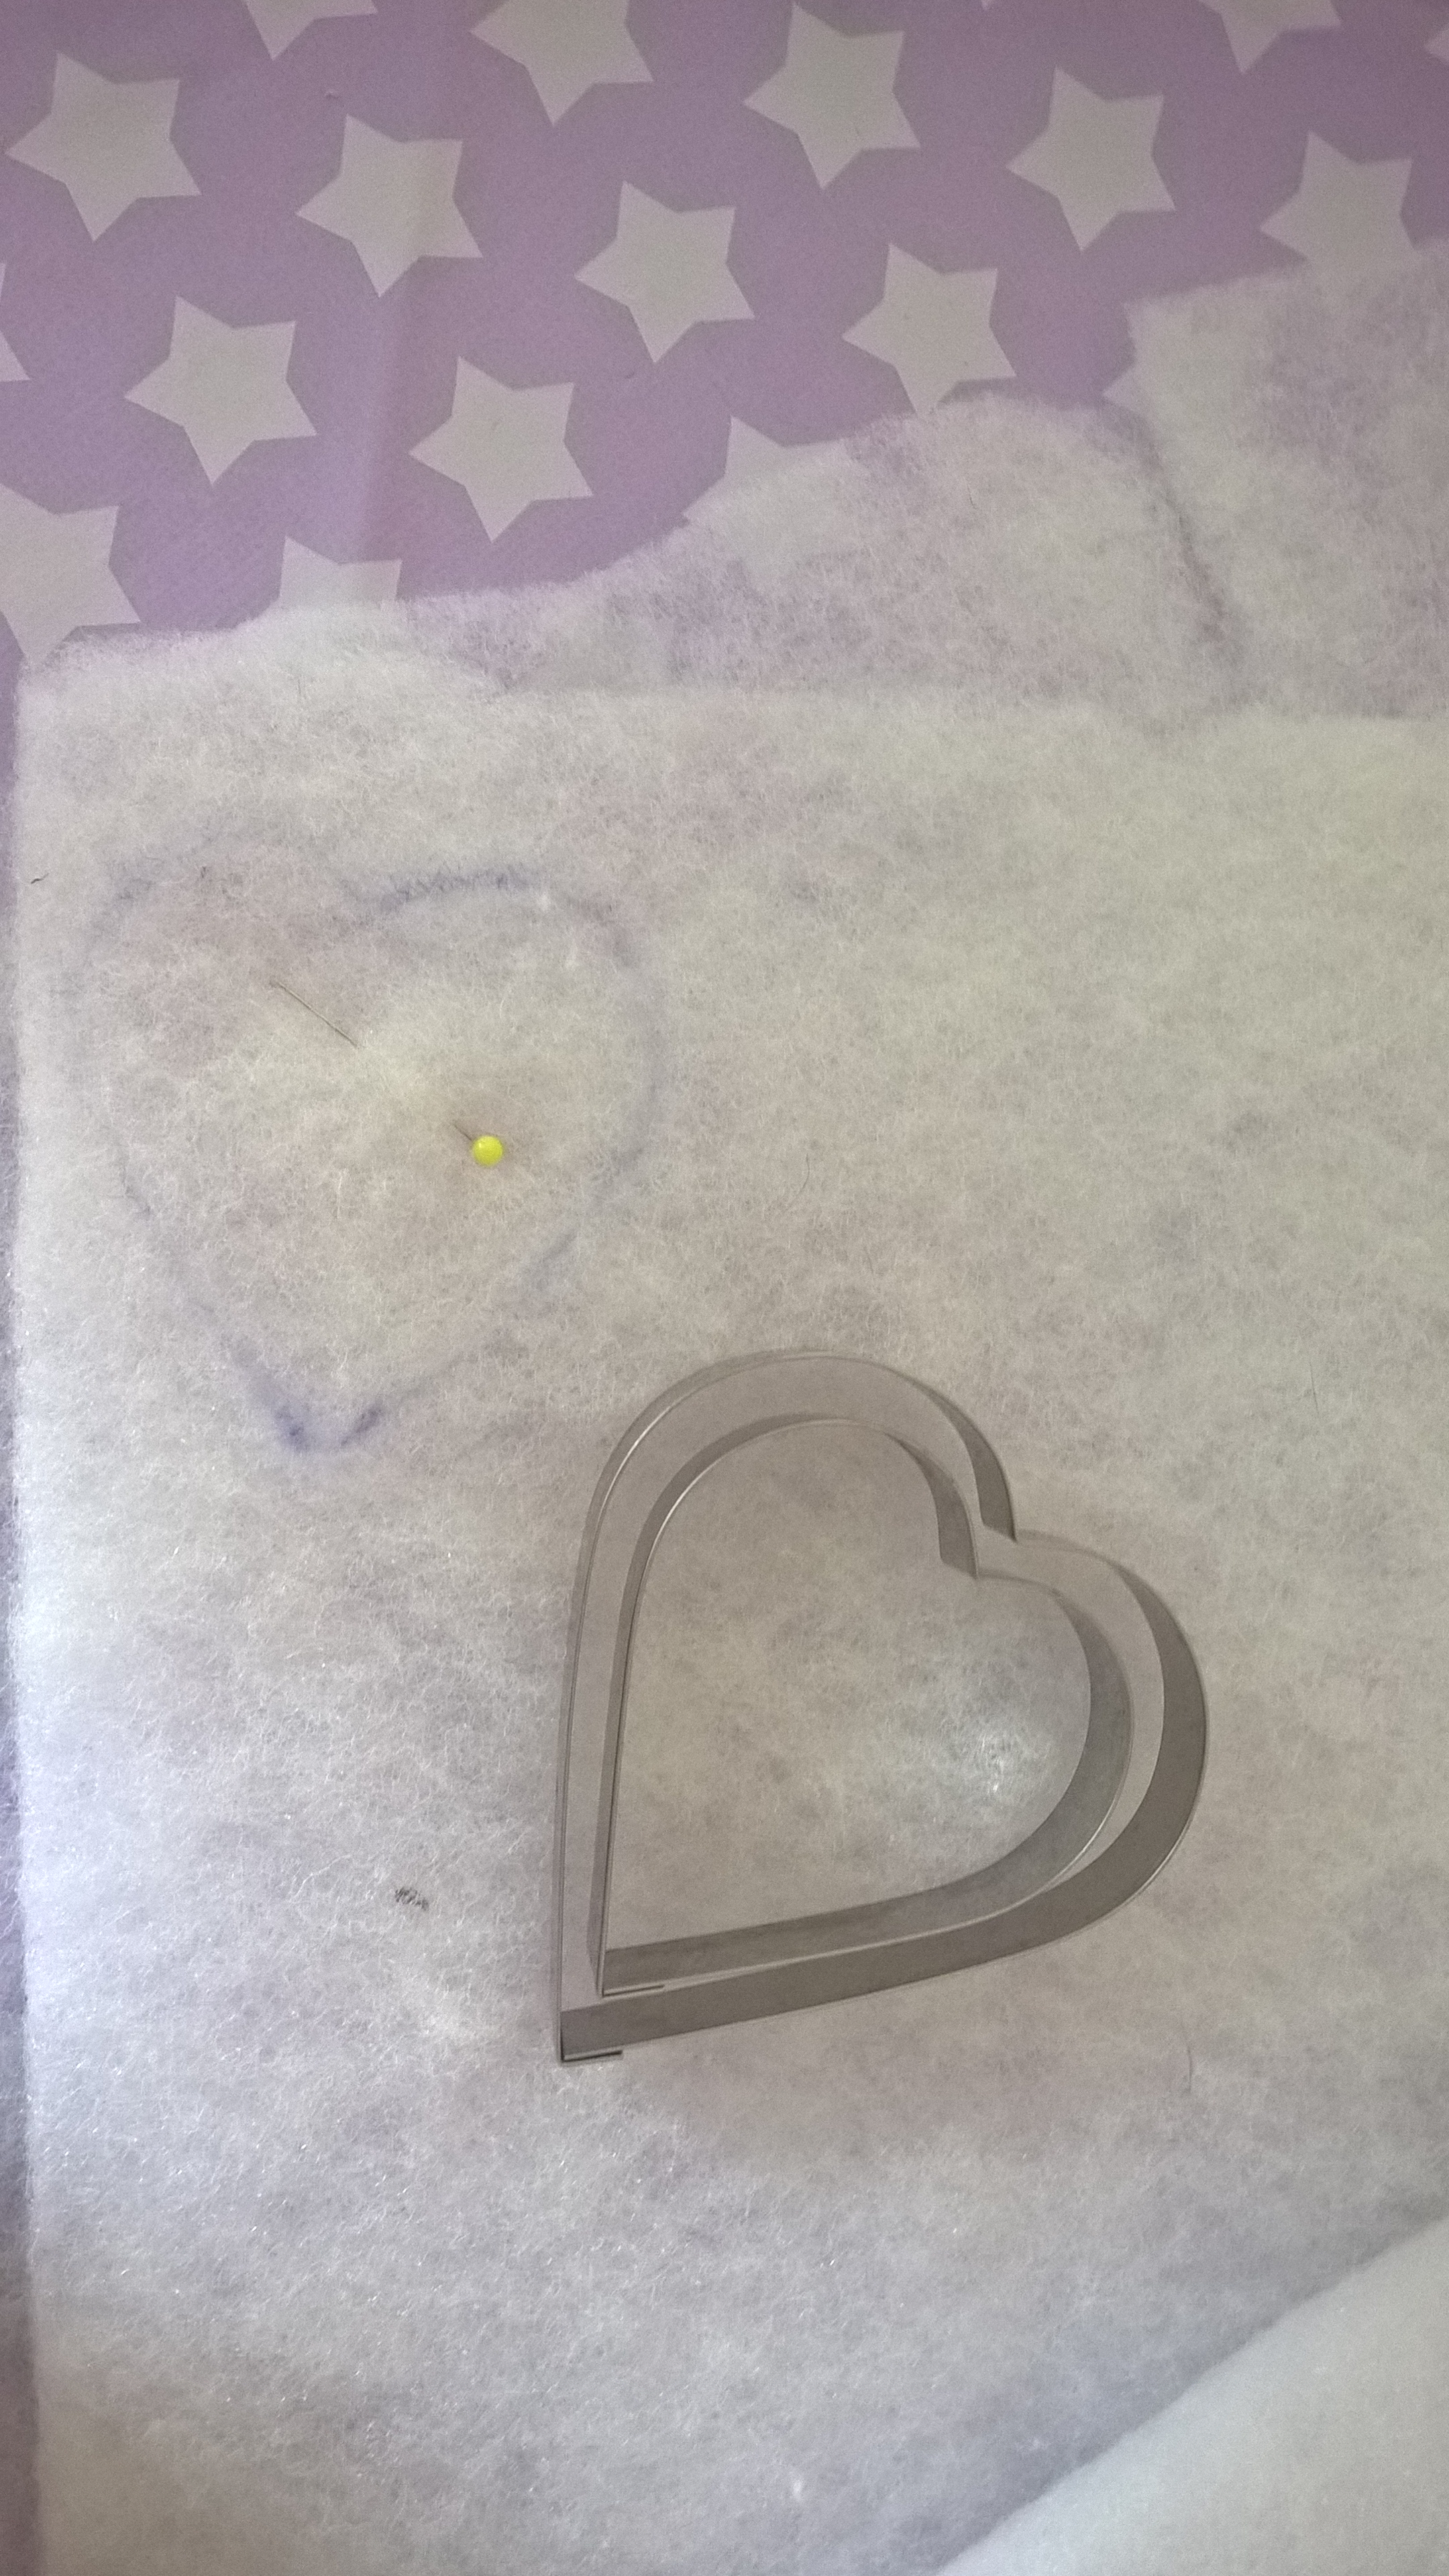
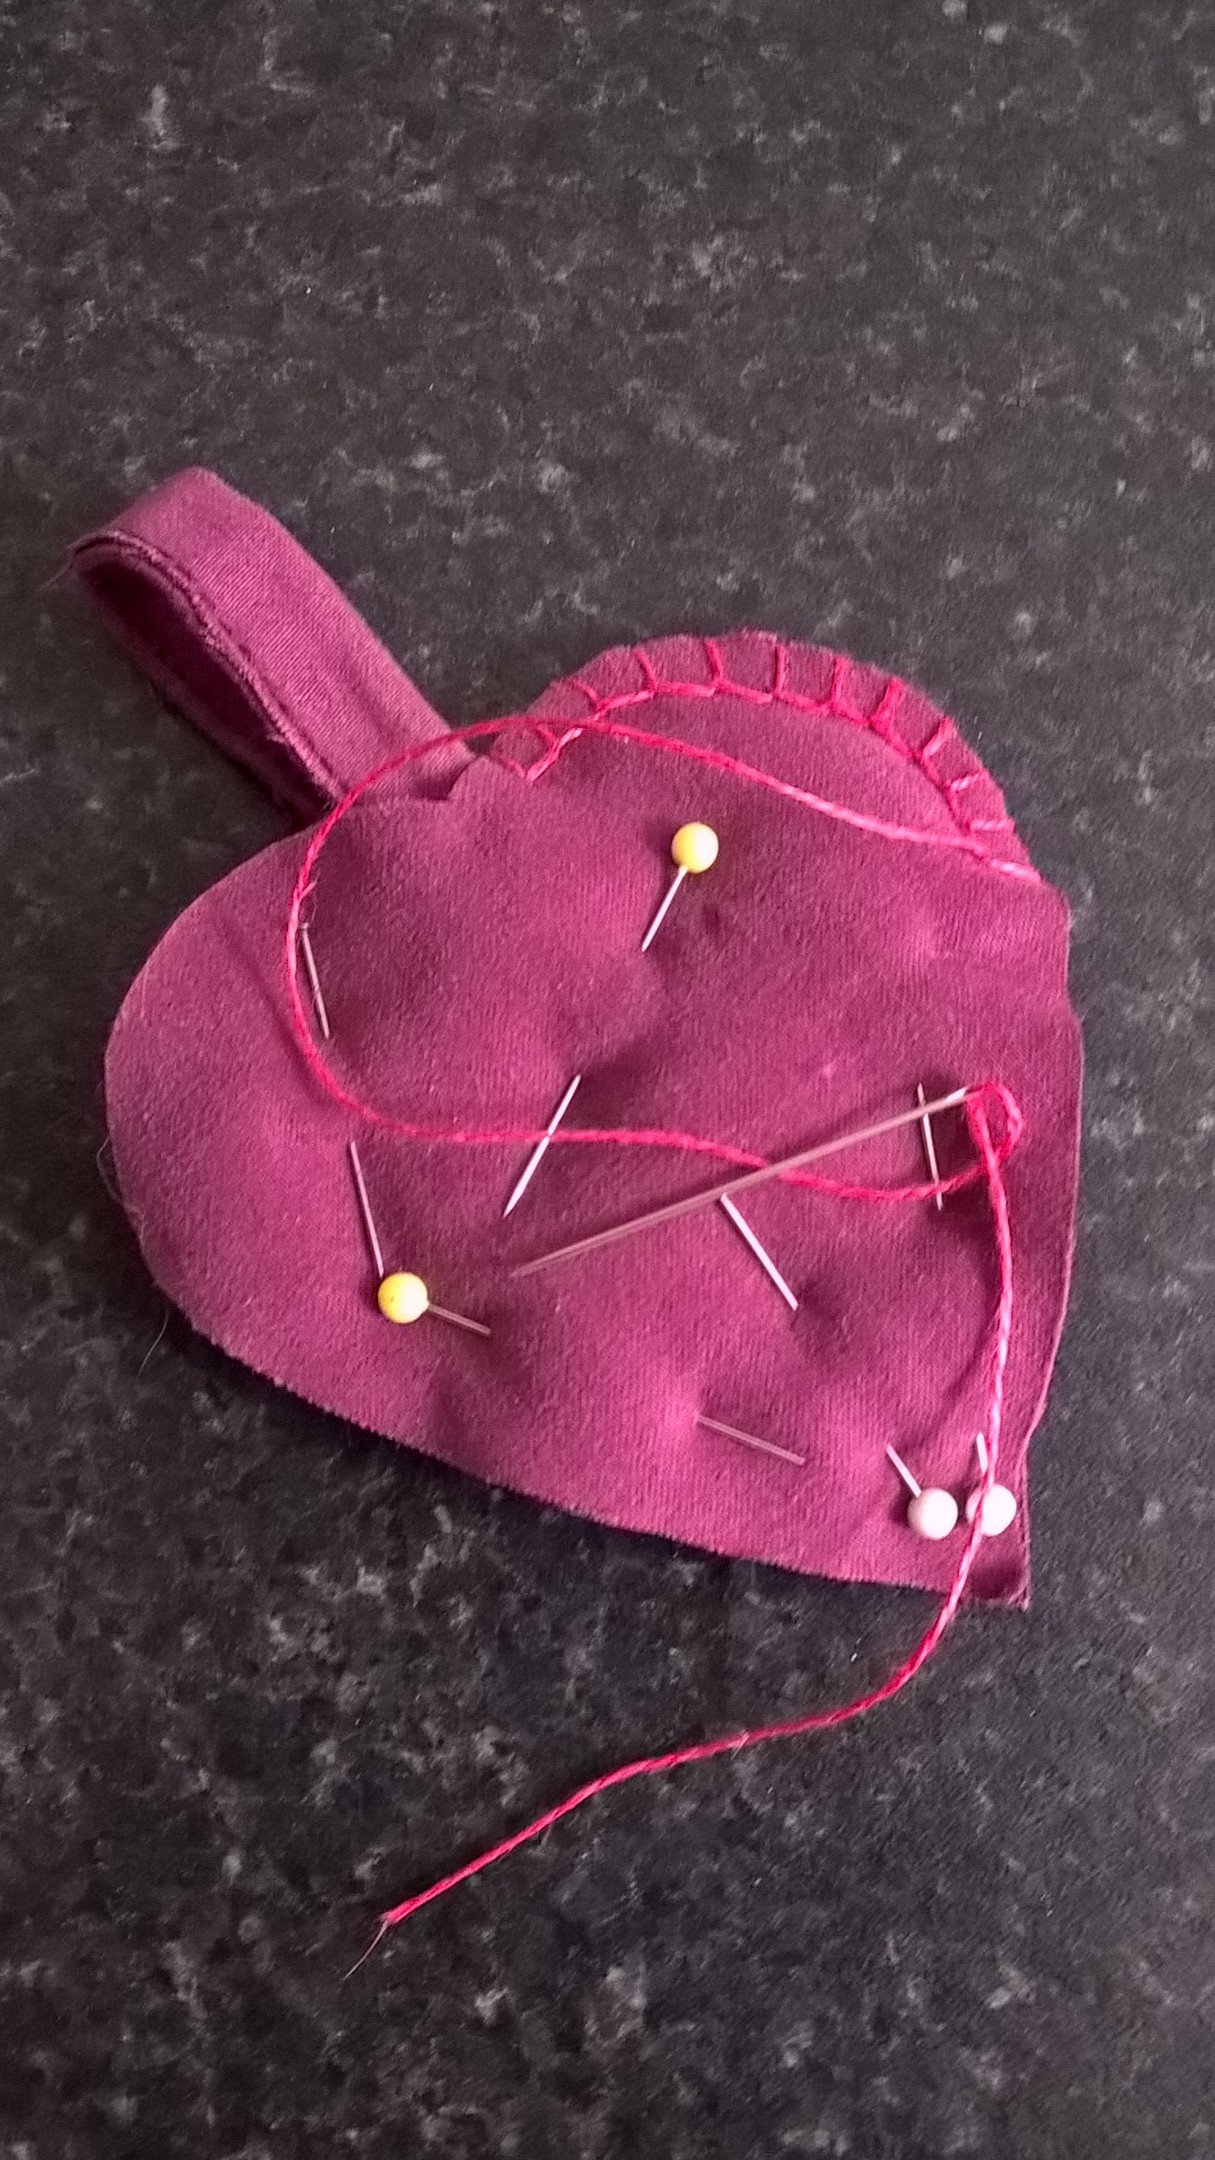
 I made this heart decoration out of waste pieces of fabric left over from a pair of trousers that I altered for a friend of mine.