Family History · Hand Sewing · sewing · Upcycling

Echoes of the Past

Creating memories in textiles.

This year marks 30 years since my father passed away, as the years have passed I never know how to feel about this. Once the raw grief passes there is longing and memories tinged with both warmth and sadness, I was 18 at the time of his passing and didn’t really know anyone else that had experienced this. At the time I just got on with life. I have spent many years not expressing the grief and lately as I know other friends that have lost parents and spouses too, I feel that I do not want to mention it as the initial loss is far more painful.

The book of secrets!

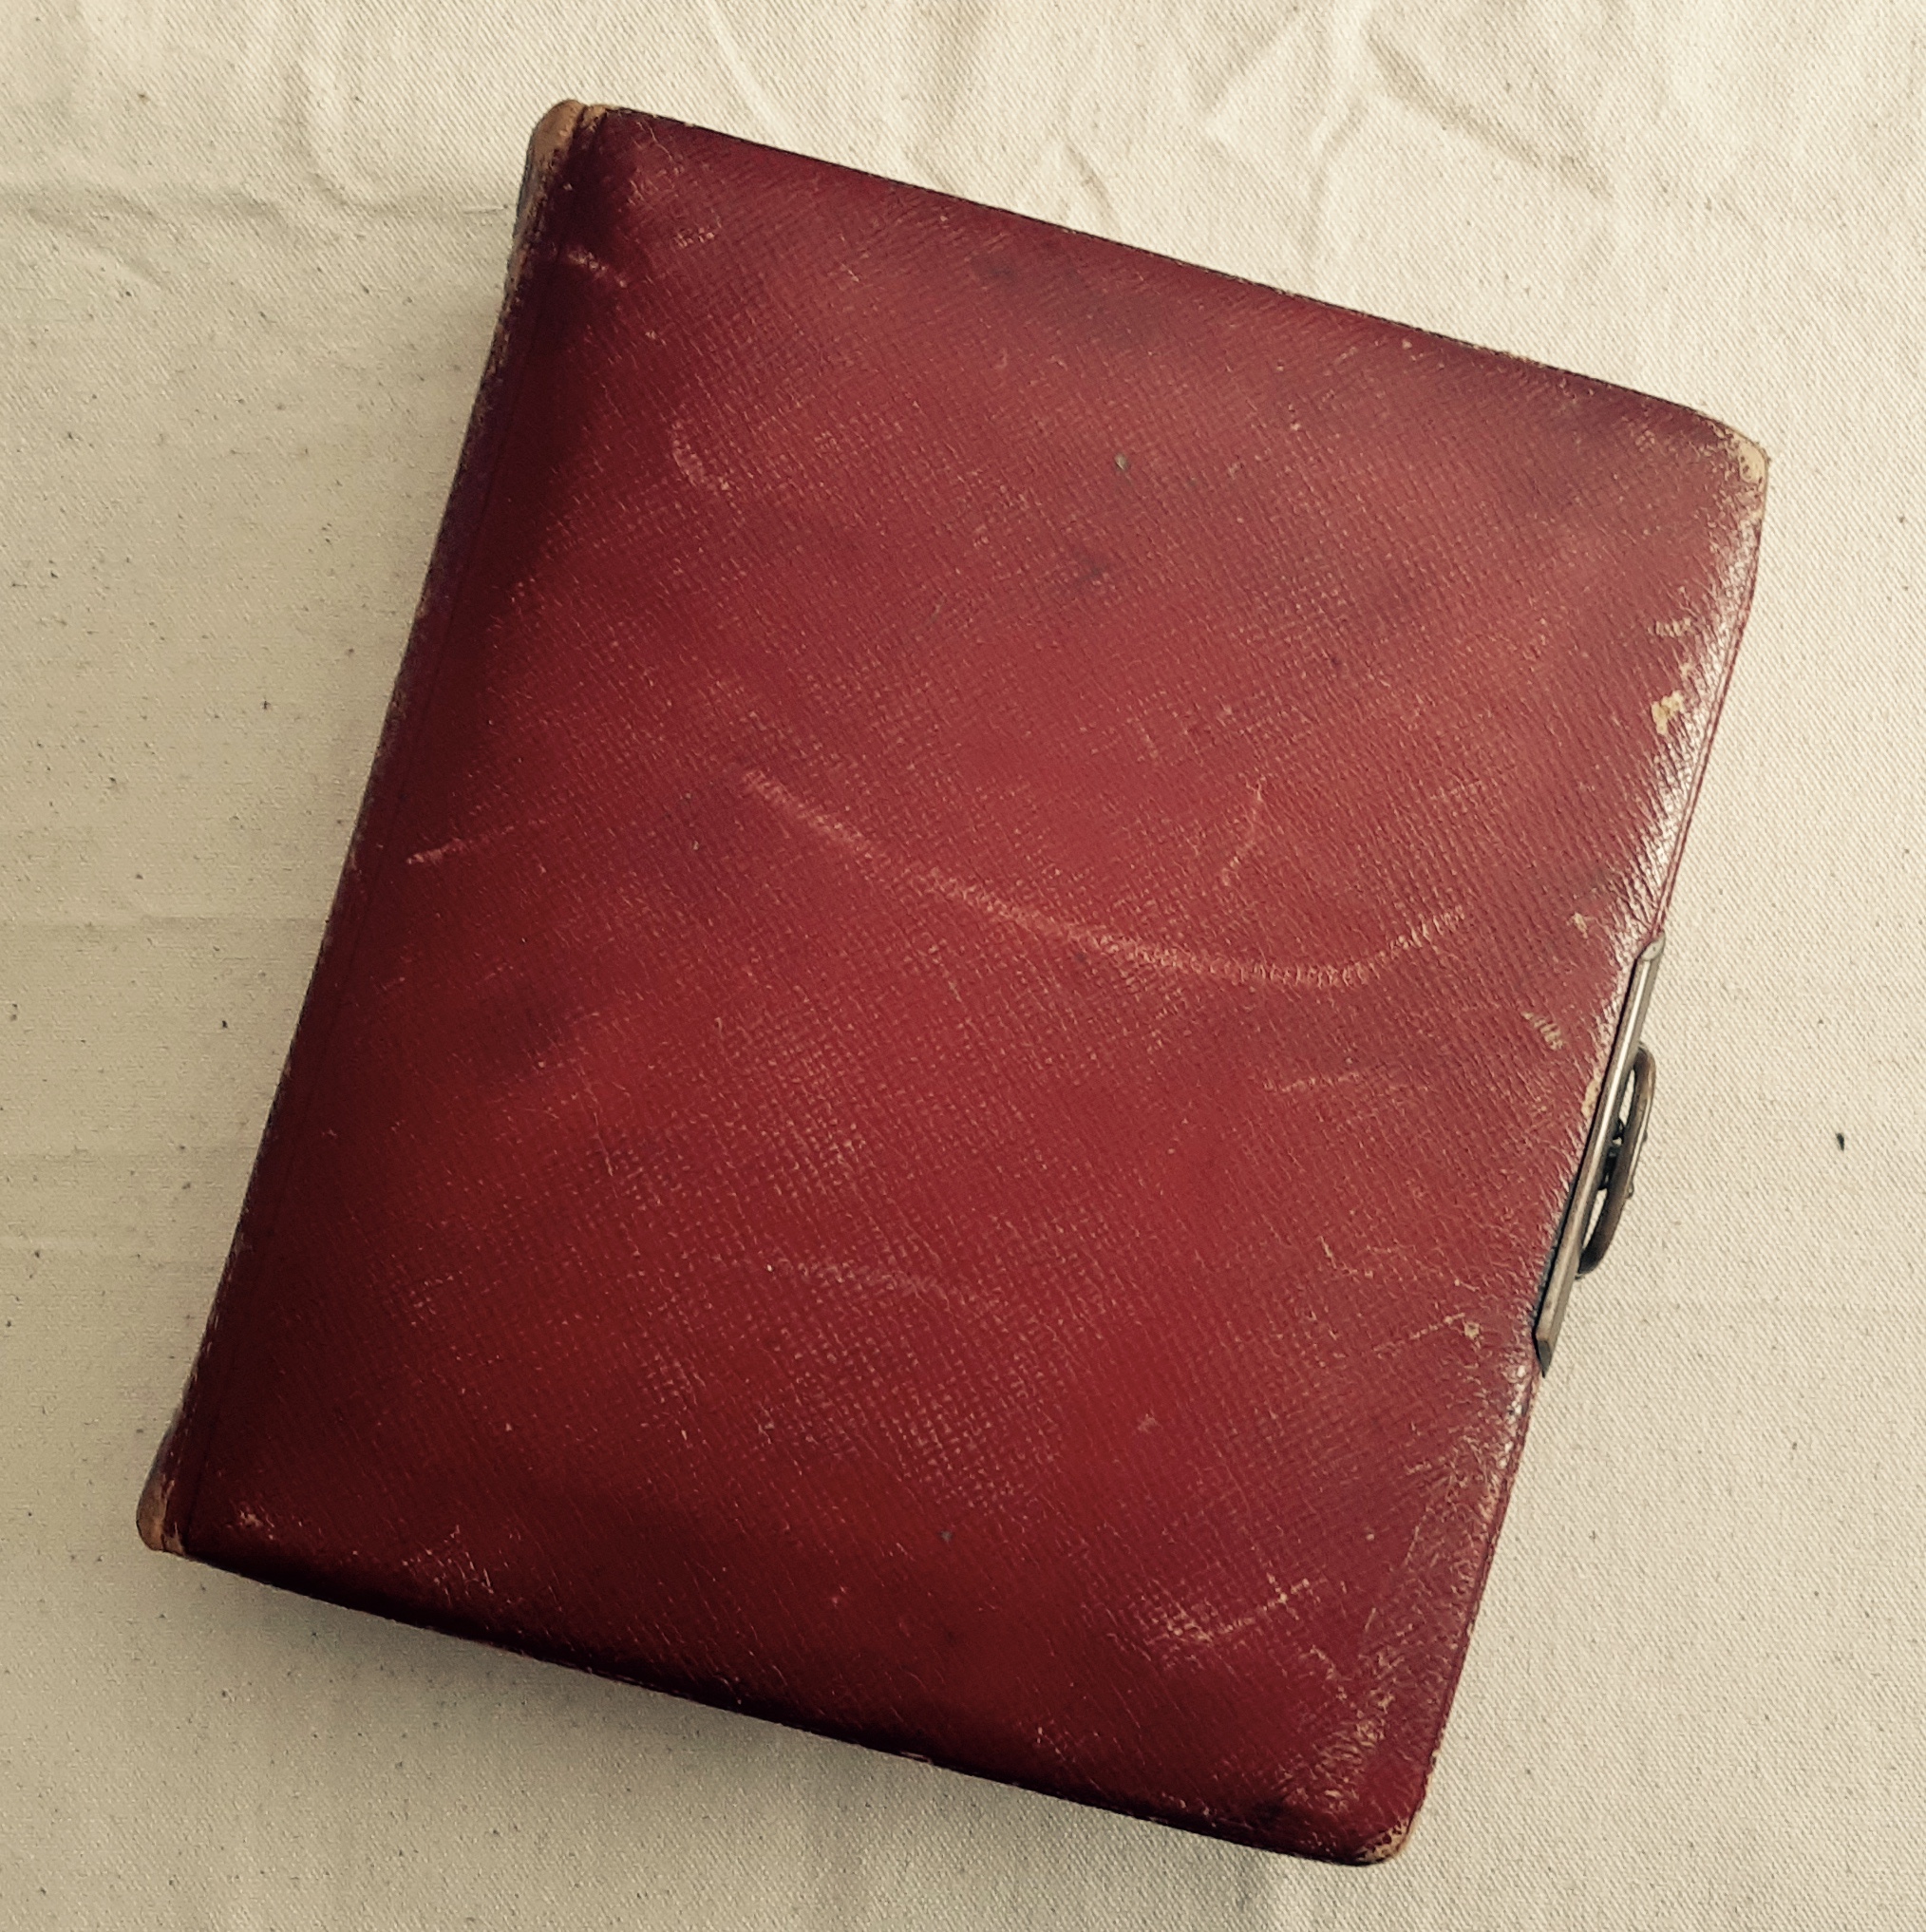
However, my husband lost both of his parents a couple of years before the pandemic started and with both of us being the children of older parents there is a rich unspoken history, on all sides of our family. My side of the family does not have lots of photos but I have always been facinated by costume and my husband’s side has lots of photos that go back to Edwardian times and probably a bit further. We were luckily enough to find them in this incredible leather bound photo album.

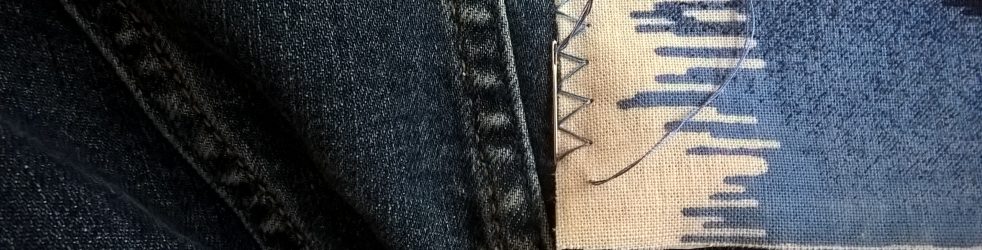
I have thought about what I would like to do with these photos to bring them alive a bit more and have thought about experimenting with image transfer, natural dyes and printing on cotton and canvas. Here is a small selection of images and my ideas of how this project is going to progress.

This is an idea for a mini moodboard, including a photo of my dad sitting at a writing desk in 1952. He was born in Poland of German and Polish descent, his Polish father was killed and he was conscripted up to the German Navy during the very last throes of war and some how he ended up over here.

I have heard various talk about being in a POW camp but also being part of barracks that were a Bomb disposal camp. According to google the german is translated as, ‘I will be leaving here soon’ but my main interest is his beautiful handwriting which I used to try and copy as a child.

Everything I learned about the countryside and nature was on walks with my dad. I would like to include these aspects on a textile piece based around the image above.

Celebrations and Tragedies

(Digging up a hidden history)

This photo is an historical mix of my husbands parents, his father is the baby pictured on the bottom row and with his parents on either side of the photo. On the top row is an RAF Padgate photo album we think my husbands father is pictured in, while on national service.

The postcard and photo on the left side of the top row, helped me to Identify that the nurse in the middle was a Military Matron in the first world war, and apparantly is decorated with an OBE, the Croix de Guerre and several other medals.

This untalked about family tragedy happened on my Mother-in-law’s side. Two little boys drowned in the River Severn in 1886, the sons of Ralph Mackay who painted Victorian Christmas card designs and other styles too, including the one pictured. One of the boys is on the right, identified by the writing on the back but I have yet to identify the other one. I believe all of the children are pictured but I try not to handle the photos too much.

These images are the mini moodboards for my project and I have been looking at several different textile art books and a book on fabric journals called Day Dreams Journals by Tilly Rose. I currently have it on loan from the library but I think I will have to make it part of my permanent collection, it is such a dreamy read!

Has anyone else used textiles as a way to bring their family history to life?

sewing · Uncategorized · Upcycling · vanlife

Finding New Adventures

In between lockdowns my family decided that we would like more on the road adventures and we purchased a semi-converted Sprinter Van. We upgraded most of the cosmetic items ourselves such repainting the interior walls, putting cupboard doors on open storage and adding some extra furniture.

One of the biggest things I researched was blinds for the windows, I wanted to reuse an old windscreen cover that was in the van but never fitted properly and this is what I decided to do with it.

I had tried making magnet blinds with some left over Reflectix but I didn’t like how after little use they started to wear out a bit as the foil is quite thin. Luckily the size of the windscreen cover is huge and I managed to get the blind for the kitchen window and the one for the sliding door window out of the whole thing. Both are held in place with magnet hooks – I love the one on the sliding door as I can slide the door back without it catching or falling off. Also, I can turn the blinds around to reflect heat out or keep heat in.

After I cut the cover in half and took off the side bits I made the shape more rectangular and bound the edges using my lovely old hand wheel sewing machine. I use my hand turner much more than my electric because she pretty much has no complaints about anything you put under the needle.

Hand Sewing · sewing · Upcycling

Something Borrowed….

One of my favourite things about sewing and textiles is that it is such a huge worldwide field and there are always so many new things to learn. There is such history wrapped up in cloth and sewing, it really is the tale of humans and culture with the added emotions of birth, death, migration, persecution, memories of clothing worn, comfort and so much more.

One of the skills I picked up was based on the traditional Japanese technique of Boro, this as with lots of cultural trends that come and go is steeped in history. A way of patching and repairing clothing to pass down to family members, these items of clothing or household textiles would have been repaired to last and essentially contained the story of the family through the textiles used.

Unlike now, where as a trend there is no history or emotion and items are sought after as a sign of expensive luxury. I still cannot understand the trend of buying jeans with identikit factory made rips in them already, any wear patches or mending should be a sign of how the clothing was worn.

Anyway, here are a few pics of the skills I picked up during the session, we were encouraged to be really creative and add other stitches and embroidery over the top. Since the session I have made several more of the squares and added other bits and pieces to them such as buttons and, I am really pleased to be able to say that all the fabrics are scraps I had already.

The largest photo is the stitching I did on the original session and the last one here at the bottom is the current piece I am stitching, it is based on a day trip that I took to Clevedon, near Bristol. I have decided that I would like to use the techniques to recall events and trips that I have taken, particularly in the natural landscape. It is instilling my emotions and memories into cloth and creating a visual diary for myself that is not on a hard drive.

Refashion · sewing · Upcycling

Refashioning a Classic.

When you want to be on trend, wear quality clothing and stick to a budget – get out the sewing machine and turn to a bit of DIY.

I found this fab men’s shirt in my local Sue Ryder charity shop, the cost was £4. It took me a number of visits to find the right thing, I was looking for a shallow yoke on the back as I knew I wanted to turn the shirt round and no pocket on the front as I didn’t want to unpick and be left with stitch marks

I drew a couple of rough sketches of what I planned to do with the shirt. I knew that I want to straighten the bottom, cut off the collar and cut the sleeves to about 3/4 so I could turn them up.

WP_20180607_14_49_37_Pro.jpg

I started by cutting a small neckline around the collar section and pinned  the button stand closed so it didn’t move when I cut across the thickest part. Remember when you have drawn on your collar line to add seam allowance, I added 1.5cm to create a small rolled seam and hide the raw edge.

I cut the sleeves slightly longer then I wanted so I could have the turn up and put 4 cm on for a 2cm hem with turn under. I cut the hem straight across but I wanted to keep the detail used to strengthen the shirt at the top of the curve.  One of the key factors was turning the buttons to the back, which fully changed the look of the shirt into a top.

As part of the refashion I felt that I didn’t want to hide the history of the shirt and decided to unpick the labels from the inside and put them on the outside.

I took it to one of my workshop classes and because of the quality of the fabric no one could quite believe the changes, even though actually they are quite small.

Most people thought that I had bought the top in its current form, before I showed them the photos and they all felt with a bit of practise and a few tips on how to draw a good curve they would be happy to have a go themselves.

I have kept the collar and cuffs and stashed them away, maybe to add a fake shirt look to a thin sweater for winter!

Hand Sewing · Refashion · sewing · Upcycling · Workshops

Sharing timeless skills

This blog post is a really exciting post for me, I have spent the past several months running workshops sharing my skills with both adults and children.

I have been highly motivated to share my knowledge with other people for two reasons, the first is that I was passed a lot of skills down from my mum and her relatives and I want to share them, the second is that I really enjoy how satisfied both adults and children are when they feel they have achieved something in a fun and relaxed way.

Here are some pics of what I have recently been teaching people.

My local scrapstore has a huge box of scrap leather so I have delved into it for some great colours to teach people how to make keyrings, we also used fake leather and other fabrics, seen here on the top left. This lovely pic was taken by Meg from the Create cafe mentioned below.

On the right I spent an afternoon with some ladies at a great community cafe called Create on the Square, where we made denim bags from upcycled jeans, everyone’s zip sewing skills were great as a few of them had not done zip inserting before.

Lastly, on the left is a pic of a workshop at the Cheltenham Jazz Festival, we were in the family tent teaching kids how to make musical instruments from scrap materials such as paper cups and plates, plastic lids and other bits, this one was great fun and we had over 100 people in two hours! Play is so important for children, they were all really happy, relaxed and could make a mess with no one worrying about the carpet.

Coming up I am going to be doing another key ring tassel workshop, alongside friendship bracelets, fabric brooches, a fun pom pom session and felt pencil cases towards the end of summer with a back to school theme.


Chillies · Hand Sewing · sewing

Sewing in Scovilles – aka Chilli Bunting for our summer adventures.

fb_20160902_13_18_34_saved_picture
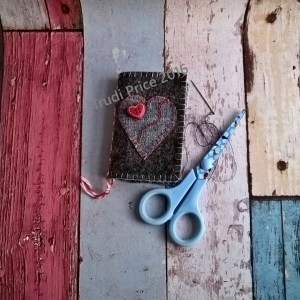
Last year we had our first ever market stand at our local farmers market.

My husband and I love eating and growing Chillies so, we decided to diversify his garden business and grow to sell. We grew all our Chillies from seed, it all started in January with a heated propagator and crossed fingers as we hadn’t grown on a large-scale before!

Anyway this year we are back for more, we will be planting again in a couple of weeks and I decided this year I wanted some bunting for our stand.

I went on the hunt for some fabric and bias binding and made my own Chilli template, I cut it out in two parts one piece for the body and stem and another piece for just the stem to be stitched on top of the main piece.

I machine stitched the bunting down to attach and after I folded the binding over, I slip stitched it down by hand to get a nice finish.

I found this fab yellow fabric in Hobbycraft and bought the rest in our local wp_20170108_13_34_43_prohaberdashery, it was great to get such a good match on the binding as the red felt on the Chillies is a very deep shade of red.
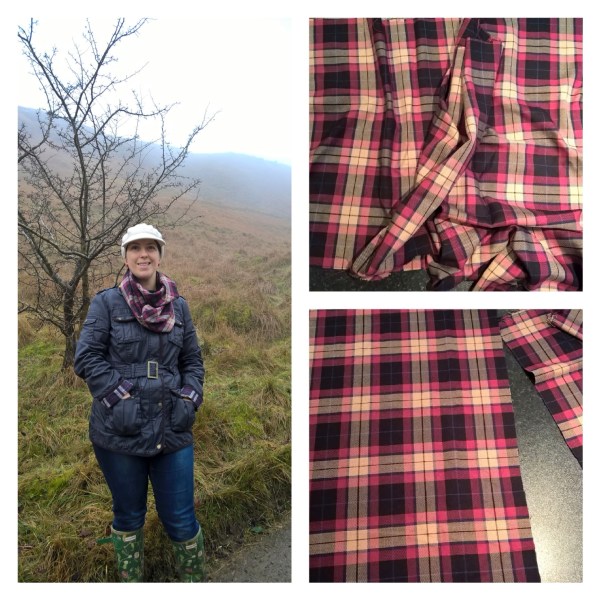
Due to the weather being incredibly dull again I have really enjoyed sewing with these bright colours, though as usual the light makes a decent photograph difficult to take.


This photo is my favourite, I have a peel off New York decal on my kitchen wall – I love the decal/bunting combo so much – I think I am going to make some smaller flag bunting and keep up it there! Most of my friends expect a good chilli/curry from us when they come round for dinner (apart from my best friend who has an undying hatred of spicy food) so they would love it.

wp_20170119_16_06_38_pro
New York in my Kitchen!

Refashion · sewing

A Stitch in Time

I had all but given up blogging for a while as the dull short days and artificial light make awful conditions for photographing projects. So here is a little round up of what I have been making recently;

This was my favourite make, I saw the fabric in  Hobbycraft and decided straight away I would turn it into a shirt. Buying new fabric unless it is to improve a refashion,  is not something I do often but it is a special print and I already have ideas for the left over scraps!

I had drafted the pattern previously and used it to make a printed corduroy shirt. I am in love with the cowboy style yoke on shirts and I have a few with this design feature.

image The Infinity Scarf

I love a good scarf and wear ones of varying weights all year round.

This one was made from remnants I had left over after making a lining for a sleeveless wrap jacket, featured in this post

I really enjoyed the simplicity of the make and it’s pretty cosy as well!


I have had a great year, tutoring workshops with a local social enterprise company that run projects to encourage more arts and crafts for children and adults using materials from our local scrap store.

This year I plan to expand my involvement in helping people to learn new craft skills and realise how fulfilling creating something yourself is.

Hand Sewing · Upcycling

Stick or Twist – Laptop Cover Adaption

I have been eyeing up this little project in Do Crafts magazine for a few months ( its issue number 70 if you’re interested) and this week I made one for myself.

wp_20161026_12_42_49_pro

I have a few pieces of grey felt from a visit to my local scrapstore in my fabric hoard, so I decided not to stick to the original design and twist it by going for a school satchel look.

The laptop cover in the magazine is machine-made but as I have a penchant for hand sewing mine is all hand stitched.

I wanted to give the dark grey a bit of a lift and I decided to go for my current favourite symbol, the stag silhouette.

I stitched the whole thing together using extra strong thread in bright yellow, using double running stitch ( it looks the same both sides like a machine sewn line of straight stitching), then I used the same thread in a bright red to weave in and out of the yellow for added texture.

The fabric used for the stag silhouette is a scrap of upholstery material, as the fabric frays a bit I used some iron on interfacing to stabilise it. I appliqued the stag onto the cover with blanket stitch and then wove some grey and white twisted wool through the stitches.

The attachment I used to keep the cover closed is usually applied in leather work, it is a called a screwback stud.


Hand Sewing · Upcycling

Circular Motions – Wreath Making

wp_20161014_16_02_24_pro
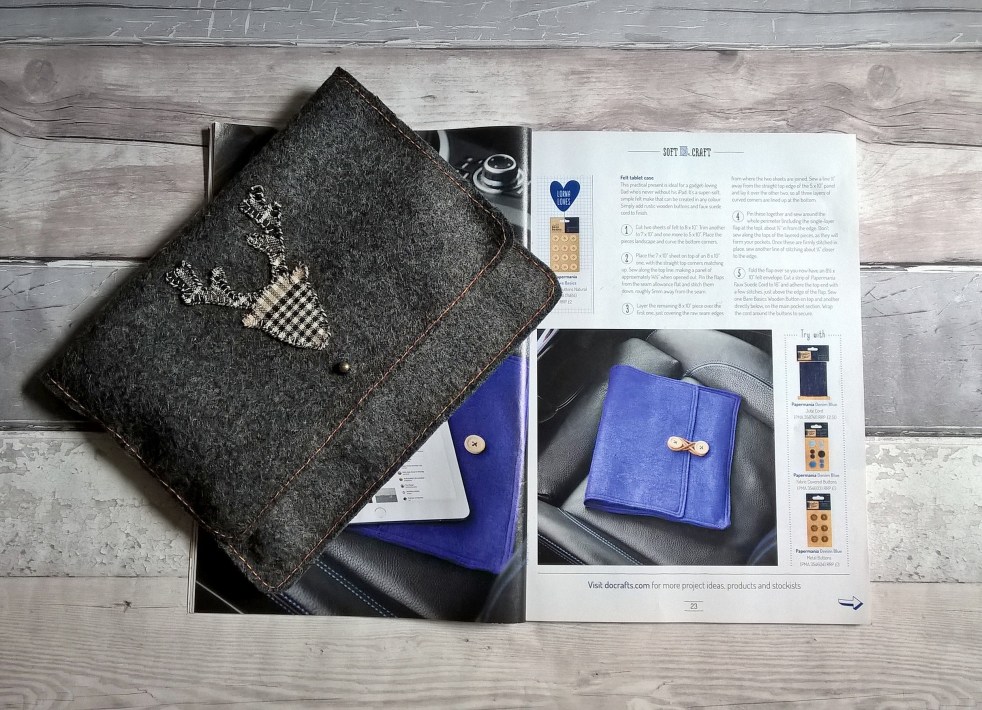
As the seasons turn, I have to admit that my favourite seasons are Autumn and Winter. The colours, the scents, the change in food and I am a big fan of keeping alive family traditions.

I brought this little Angel quite a while ago and she stays up all year round, in December she is a Christmas decoration and the rest of the time she is a folk decoration!

Last year  I put up a wreath made of dried fruit slices, once the slices had gone past their best I decided to keep the wreath frame to see if I could put it to good use and this is what I came up with……

Materials Required

wp_20161011_17_09_24_pro

2 Sheets of felt in your main colour

1 Sheet of felt in a contrasting colour

Wreath Frame and hanging loop.

Cardboard Leaf Template in 3 sizes/styles

Fabric Pen/Tailors chalk

Scissors and Pva/Fabric Glue

Needle and Contrasting Thread/Decorative button

I am not too specific with the fabrics and what colours you should use, because I think that hand made items should be unique and this wreath could be Autumnal, Spring like or just matching the decor of your room.

First thing, draw your leaf templates (I used the back of an old cereal packet to make mine) and cut them out.  The largest size leaf to cover the wreath frame measured 6.5cm in length and 3.5cm at the widest part of the curve, the smaller one is 4.5cm by 2.3cm and the long thin ones measured 6cm by 2cm.

Draw round your largest leaf template first, I cut out and used 25 large leaves. Next I cut out the tabs that will hold the leaves onto the wreath, the tabs measure approx 2.5cm in length by 1cm in width. As I used some left over bits of fabric between the leaf cut outs the tabs are not all exactly the same so don’t worry about making sure that they are ruler perfect.

After you have cut all of the large leaves, place the leaves under the wreath frame a few at a time. Place them with a slight overlap and lie them in slightly different ways. Get your glue and put a bit over the middle of the leaf, the same length and width as the tab. As I was using PVA I put some glue on both pieces and waited for it to go slightly tacky before gluing the pieces together. I also put a small dab of glue in between the overlap of the leaves to hold them in place.

wp_20161012_14_06_30_pro

After you have finished gluing all the tabs on the leaves and everything is dry, this is what you will end up with. All the leaves need to overlap and no wire should be seen.

I let this layer of leaves dry overnight with a book on top as I was using PVA glue but it might not be necessary with fabric glue or a tackier glue.


wp_20161012_16_57_09_pro

Next cut out your slightly smaller leaves, I used 11 of the small grey leaves. To give the leaves a bit of texture and contrast to the background, I embroidered them with Fern stitch.

The red thread that I used is Guttermans extra strong thread and I started sewing at the tip of the leaf and worked my way towards the base.


wp_20161012_16_49_15_pro


Once the small leaves have been glued on, cut out and layer on your contrasting leaves. I decided at this point that I wanted a flower at the top.

I cut out two six petal flowers and layered them for a Poinsettia effect then stitched the button in the middle. You could use anything to decorate for a bit of sparkle or a different look.

Glue your last pieces on including the decoration and leave to dry before hanging.  Find a place for your wreath and enjoy!

wp_20161014_16_14_16_pro


Hand Sewing · Upcycling · Workshops

Working it out!

After many months of over thinking about how I was going to start sewing classes, what I was going to teach, where I would hold them etc. I have finally taken the plunge and set up a small selection of workshops in the lovely Art Office in Cheltenham.

phototastic-27_09_2016_d9e25b0f-da0d-458e-b09d-ec240a4d6fe51

If you are in Cheltenham  then come and look me up. There are 4 classes, all suitable for adult beginners, each class teaches a couple of stitch types and a short project that the stitches can be applied to.

The classes can be taken separately or as a group of 4. The aim is that I will release a block of classes for people to attend teaching various different ways of hand sewing.

Later I would like to move into applied textile classes such as felting, but still with the stitching element.

phototastic-03_10_2016_172ab086-8303-4440-bd29-15c9c097f3661Lots of people run classes on machine sewing which is great but hand sewing is a fantastic skill to have.

I use hand sewing a lot to take up hems, ( at least an inch off of all trouser as I am on the short side!) fix small areas of mending, also hand gathering as well as decorative purposes.

It’s a great way to relax, portable and keeps your brain ticking over!

You can check out the dates on my home page and click on the link to buy tickets on Eventbrite or contact me via my Facebook page for further details.