In my personal, and I know, small bid to help stop the world drowning in landfill rubbish, here is the first step on my blog to show people how they can use things they might think are only good for the bin.
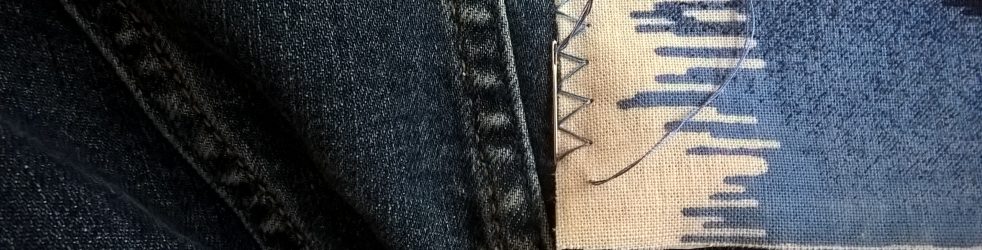
 I made this heart decoration out of waste pieces of fabric left over from a pair of trousers that I altered for a friend of mine.
All of the pieces I had already in my craft box, from bits of broken jewellery and spare buttons, to some left over wadding from my trials with quilting.
Saving odd buttons and beads in a plastic box is a great way to have a little collection of decorative items that you can attach to anything you make, or items that you might want to customise.
The “how to” guide.
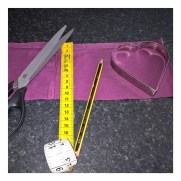


First, I cut the fabric open so that I was able to lay it flat. Next I used a cookie cutter to get the shape,this is a great way to make sure your shape is symmetrical. I placed the hearts as shown in the 3rd picture to minimise the amount of waste generated and to save the other piece for something else to make.
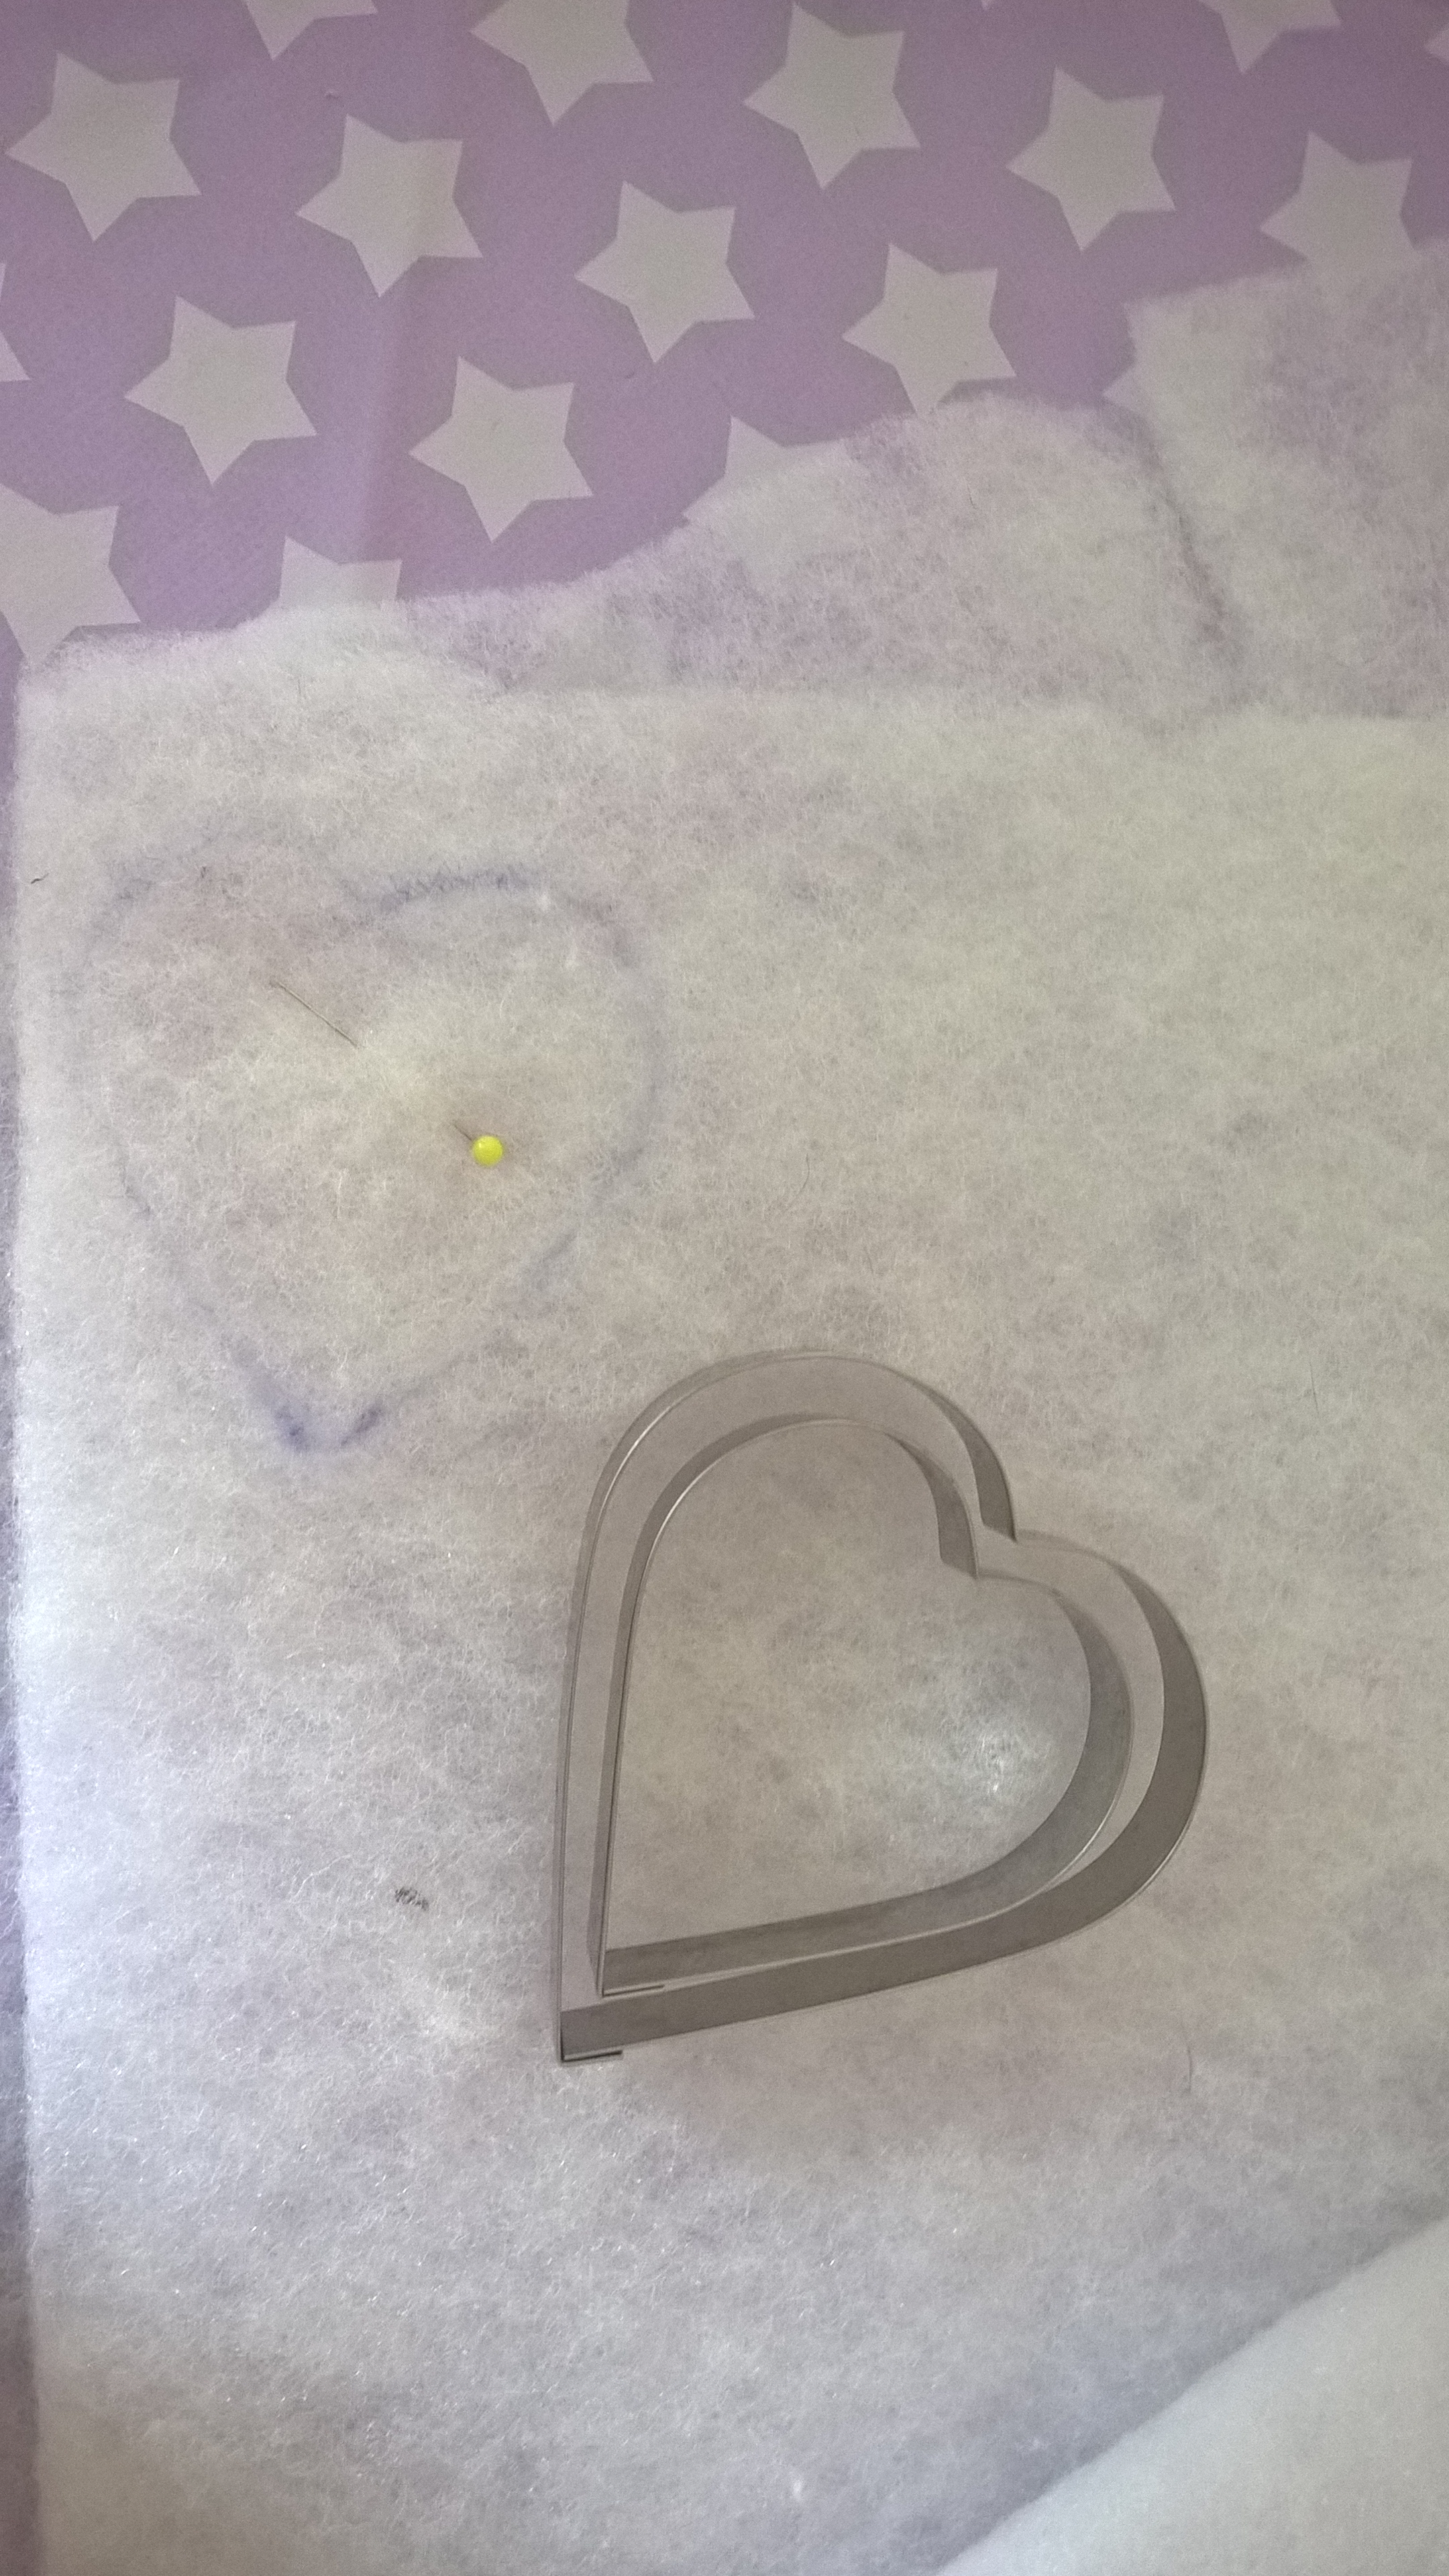 Here, what I have shown is that I used the slightly smaller cookie cutter as a template for the wadding to go inside of the heart. The wadding is three layers thick.
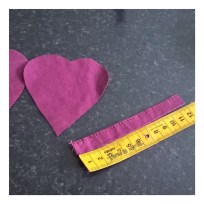
I used the old hem edge of the jeans to make the loop for hanging, if you cut it close to the stitching the raw edge doesn’t fray.
The length I decided on was 12cm.
When deciding on length, you need to think about where you want to hang the item and the fact that about 1cm will be tucked into the decoration at either end of the loop.
You could also use ribbon and alternatives to wadding could be old tights with fabric inside such as t-shirt jersey because it is soft and flexible.
 The next steps are to fold the length for the loop in half, lift up a layer of the wadding, place the loop inside with 1cm in to stitch down, making sure you stitch through all of the layers. Sew a couple of straight stitches and sew over the stitches twice to add some strength.
Place one of the fabric hearts on your work surface with the right side (i.e the side that will be on the outside of the finished piece) of the fabric facing the table, put the wadding with the loop onto the the fabric and place it in the middle.
Place the 2nd heart on top of the wadding with the right side facing you, pin into place, making sure that the loop is in the centre of the indent of the heart.
Now you are ready to stitch your heart together and decorate it.
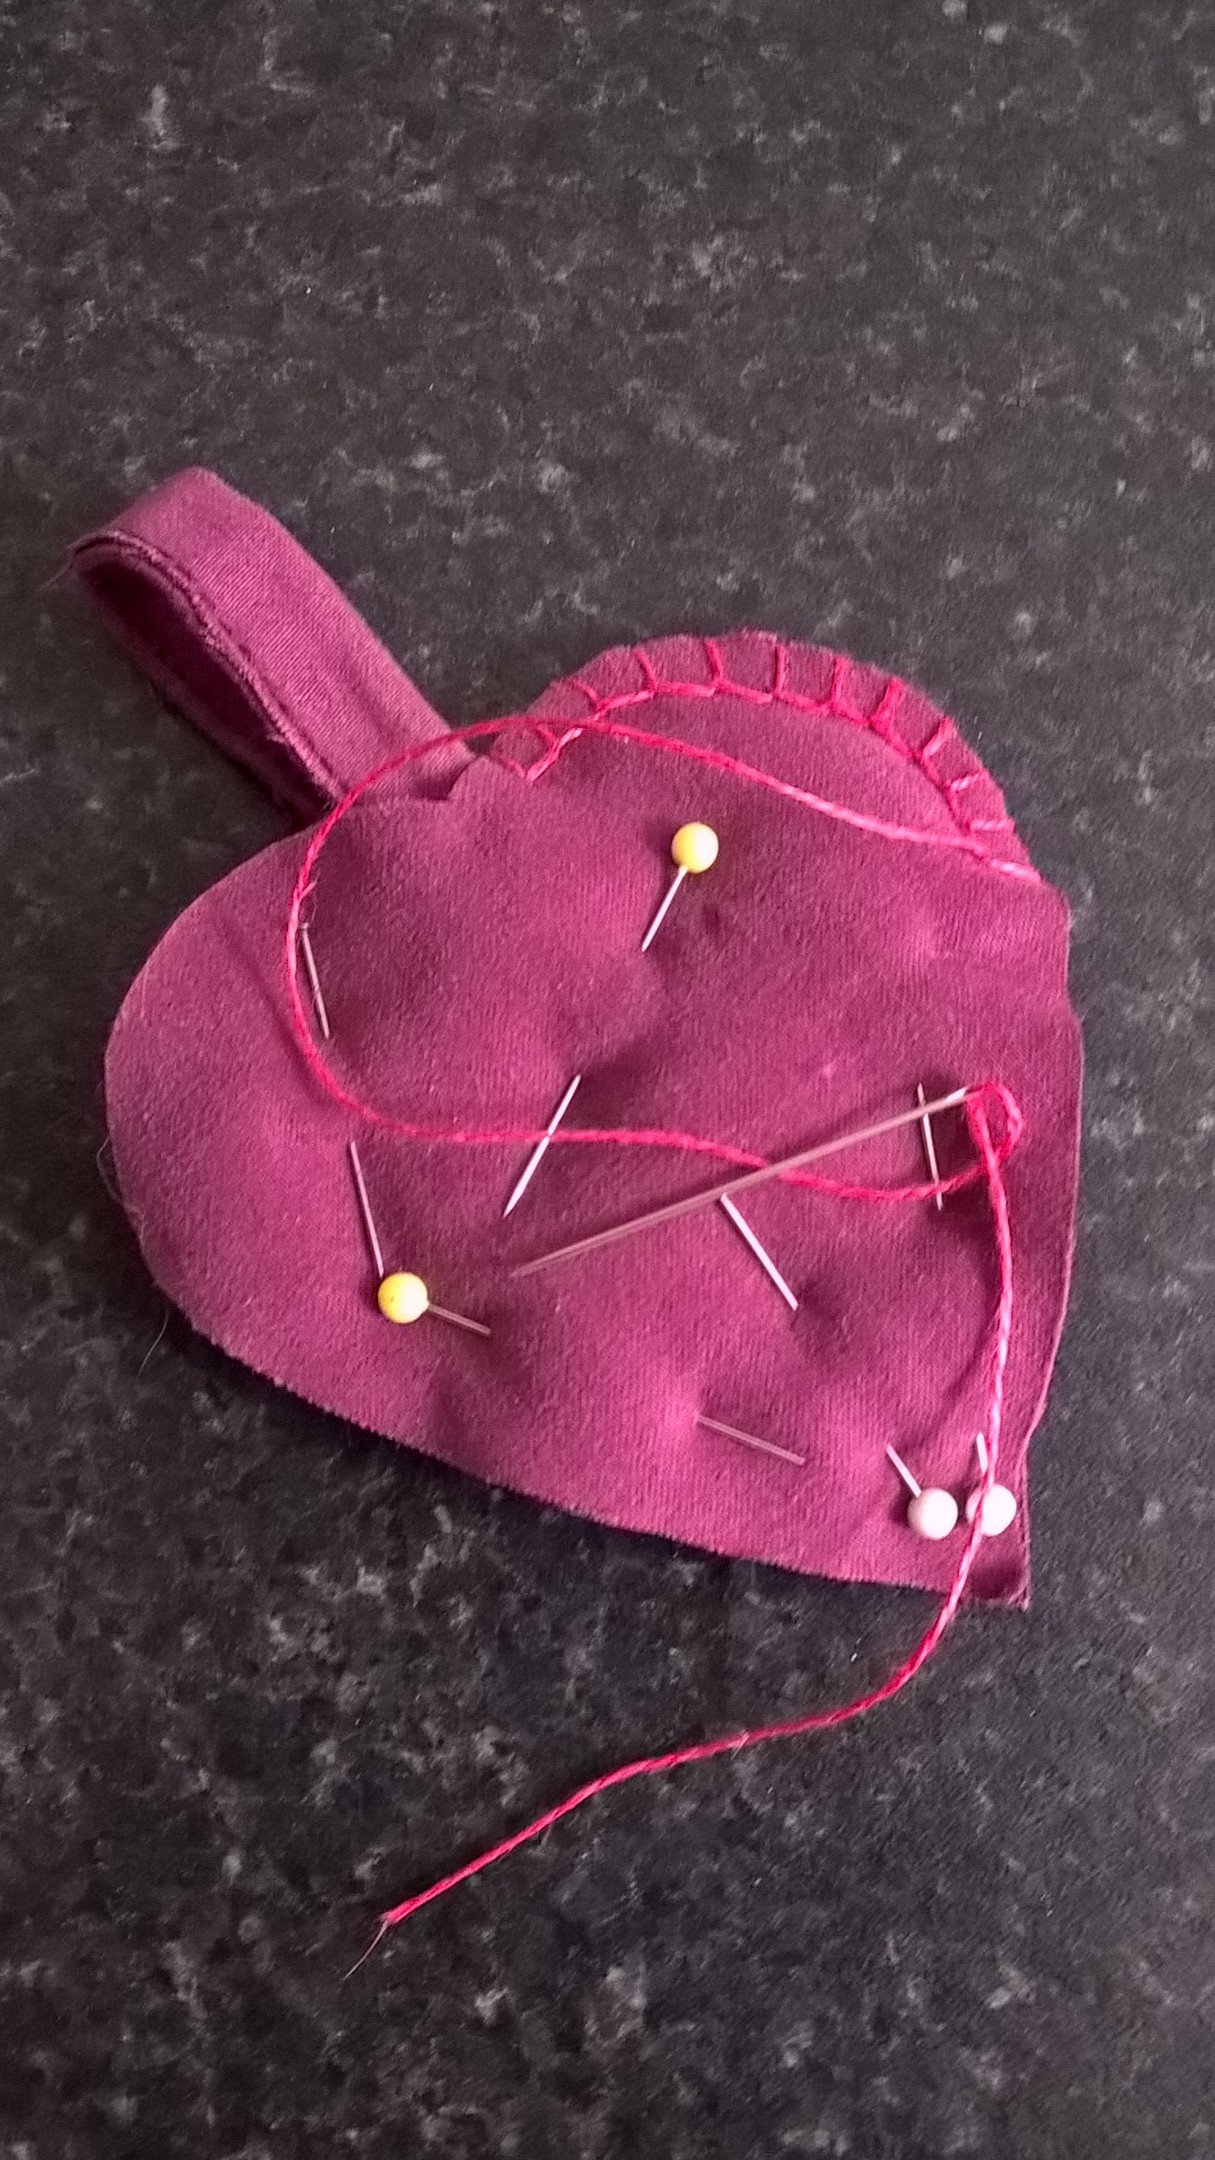
 I have used Blanket Stitch to sew round the raw edge as it is both decorative and stops the edge from fraying.
Where the loop meets the top of the heart I used double running stitch, you will see in the finished picture that I hid this with bow at the top.
Eventually I plan to build a stitch library as part of my blog that will link to the italic writing, but for now how to do these stitches can be found on the internet.
Come and visit me on a regular basis and I will see what other goodies I can cook up from odd bits of fabric, if you want to comment then put a link to your blog if you have any great bits of recycling involving fabric as well and I will come and visit you!


 serging ahead